I have never met a sole who was not an environmentalist. Everyone I have ever met in my life has a great appreciation for clean air and clean water. These are the shared commodities of life and the stewardship of every individual of the human family.
Most of us do not consider ourselves as industrial polluters who are often involved in the task of responsibly disposing of toxins that can get in air and water supplies. However we must continually be involved in a better way. Sometimes a better way can be costly and inconvenient. We often take a road of thought that "this little bit will not matter" and soon the tiny bits of "no matter" can add up to a great matter of concern.
I wright this not to point a finger but rather to remind us all to do better as our part. May the well earned beautiful mountain view of your ride not be an industrial haze. And, may the river you cup water from be crystal clear and taste of the dew drop from a flowers petal.
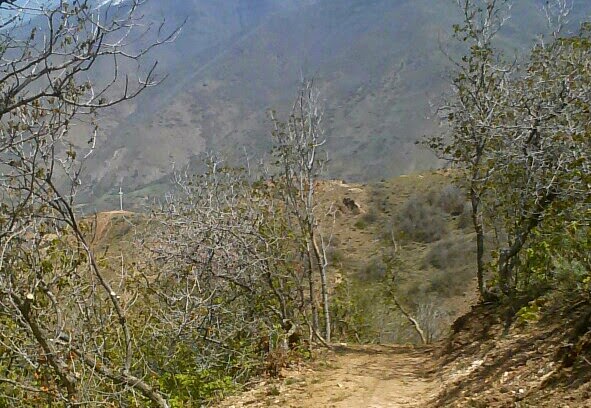
A small however well done trail. The trail head starts at the end of a row of twelve campsites. Campsite number twelve is right next to the trail head and has an excellent view of the human habitat of the City of Spanish Fork. The single track trail starts off with an up hill climb of some high bank switch backs making you think that you may have run the trail backwards. You could always turn around and run it back the other way. The trail is marked with post that could lead you to other excursions not on the trail but if you just stay on the middle track at any trail crossings you should be fine. The first one looks like this:
Like I said just keep to the middle. After the switch backs you will take a more serious climb but don't worry because you need to earn the downhill that is coming. On the downhill portion there are two switch backs that you should be aware of. The first is fairly obvious and even has a small trail continuing on if you can't stop. No worries! There is an indicator for the next tricky switchback. If you see Escalates cross out of the left corner of your eye then start slowing down for the switchback.
The cross is to remind you to pray that you are going slow enough to make the switchback.You can see how far away it is from the first picture and it is blown up in the second picture. It stands out better in real sight. From there you can let it all out to a nice lookout tower hill and then down a gravel road that leads back to the campgrounds were you can climb back up the hill to the trail head. I ran the loop twice and I feel like I have the trail memorized. I think I will use this trail for some great after work rides and get some winter chunky monkey off of me. Even though the trail is short they did a good job on it. Happy riding!
Being a chronic asthmatic has been the plague of my life. I have tried many medical options to deal with this infirmity and I have to say that some work better than others and some I am not willing to do. For emergencies I have a home nebulizer that has brought me relief many times. However biking in the sticks can be tricky to find relief. A lot of people with this problem will carry an inhaler system which is a vaporized Albuterol that is easy to take out of your pocket and use. This is an easy and simple system to find relief.
I am not saying that I am smart, in fact, I am saying that I never carry one. I rarely have a problem when I am biking. It is the stopping that kills me. And often I find that the inhaler doesn't work that well as I am winding down from a long days ride and setting up a place to camp. You never know when it can come but you defiantly feel the chest getting tighter and your lungs getting more musical.
I am writing this not just for asthmatics but for all allergy sufferers. Here are my favorite tricks:
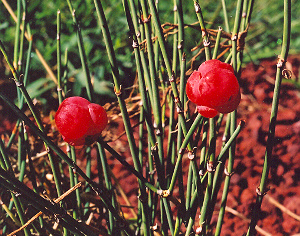
Mormon Tea (Ephedra)
It is hard to throw a rock and not hit Mormon Tea in the state of Utah. It is however found throughout the western united States. Just grab some of it's spiny leaves as you ride by so you can boil up some breath easy tea for the wind down. I like to breath in the steam as I sip to relief. You will find your sinus symptoms will disappear as well.
There is a popular herbal remedy sold in herbal shops called Ma Huang which comes from China. It is often sold as a weight loss product. This plant is the sister plant to Mormon Tea and has the same effect.
MaHuang (Ephedra)
Position is important to help breath easy:
Tripod position
This position allows the greatest ease for breathing therefore giving the least amount of effort to help your attack subside. Does this position look familiar to you bikers?
Sometimes I am not very good at entrepreneurship. When I blog I should be selling this stuff on the web. In this case I am giving away free information. This is a blog "help me" for someone who is new and want's to try a bicycle tour. So let me put together a low price touring starter kit with advice attached.
The "list" is something you will see as you google what to bring on a bicycle tour. Some people like the "less is better" philosophy, some like the "tour in style" philosophy, some like the "get some miles in" touring and some enjoy the "smell the roses as you go" touring. You can decide, change or mix it up however you like. You may already have a bicycle. This is good because any bike will do. You can make it work and later decide what you prefer. If you don't have a bike than let me move you in the right direction. A good all around touring bike has a bigger tire as apposed to a skinny racing tire. It will absorb the road better and can take you into places that skinny tires shouldn't go. Like, Gravel or dirt roads and trails. These are safer places to ride away from automobile traffic. I like the 26 inch tire because it is common and therefore easy to replace. I love a steel frame. It absorbs the road better than aluminum and it endures better than carbon. This is a step away from the light weight sales gimmick that has become the sales trend of bicycling. I agree that weight is important however this is not a backpacking trip and your axles will handle a little more weight at the price of comfort and durability. I would love to stop rambling on about bicycle choice so let me make this easy and inexpensive for the purpose of this blog. You see what I am describing is the early mountain bike before suspension systems. I have seen these at yard sales for $15 to $25. If they need some work there are lots of help videos on youtube to keep your cost down.
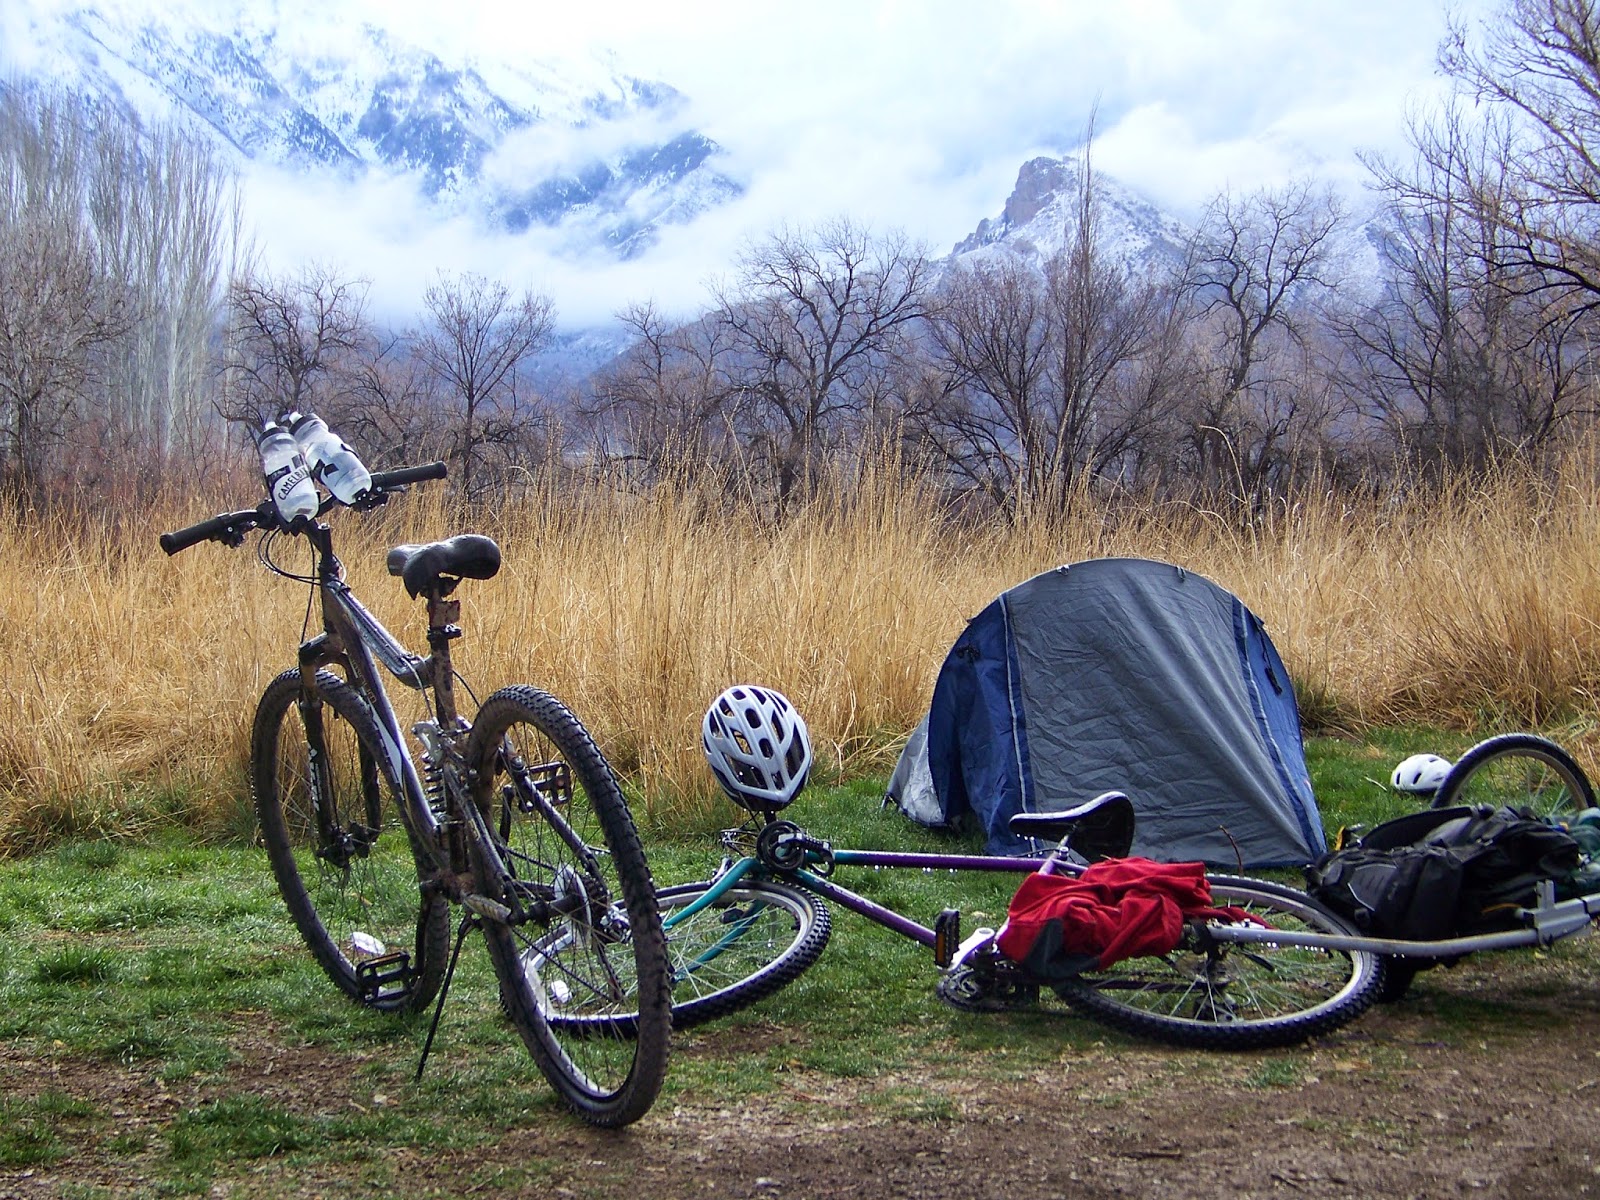
Now that you are mobile you will need a way to carry your gear. If it is a trailer you want than you are just about there. Go back to that yard sale and buy the old kiddy puller, strip it down to a flatbed, load it and go. How simple is that?
The flat bed solution will work great even on gravel roads, however, it will limit your trail riding abilities. So with that in mind I am going to suggest a rear rack with panniers. This will give you more versatility with trail riding and reduce the drag on uphills.
I really like a pannier that will detach from the rack easily, however, I will list these items for the reason of price, value and simplicity:
If you checked out these Items then you know were we are on cost.
Recap:
Bicycle $25
Rack $26.50
Pannier $25.69
Total: $77.16 + shipping and handling or 2 days of work at McDonalds more or less. I don't know why I put everything on the McDonald standard.
Hear I have some old 1980's front panniers on my back rack. They secure really well for rougher trails and also detach easily for camping convenience.
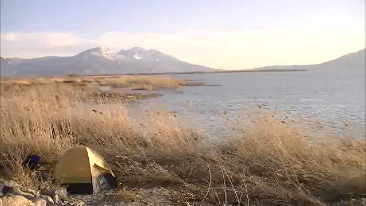
So far this has been fairly standard and easy as bicycle touring goes. However, there is more gear to talk about, for example, shelter. Shelter is everything that will protect you from the elements. This includes your clothing, tent and sleeping bag. For years I toured with only those items for shelter. Today I have a few more items including an extra tarp and blow up mattress (so nice). We will talk about the tent and sleeping bag for the sake of simplicity. If you were going on a world tour, you would have to be prepared for all types of harsh elements but in this case we are talking about a get your feet wet tour. So with that said I still think we have to go small. The more compact it is the easier it is to tote. Again sometimes you go with what you have and upgrade later. In the summer weather even your Power Ranger sleeping bag will do. There are so many sleeping bags out there that I wont list them. I have many of these for different weather conditions. I have a compact 20 degree rated bag that I use for almost everything, however it is a bit much for summer. Again I have spent some cold miserable nights in the Appalachian mountains because I was under prepared. I say go prepared. Your tent has to keep out wind and rain and your bag has to keep you warm. I recall climbing a summit at the end of the day and racing down the fast decline in a freezing cold rain. I had to stop. My limbs violently shaking out of control I managed to set up my tent, mattress and bag, and within minutes I was safe, warm and dry. I slept good that night knowing my gear would hold up and the pitter-patter of rain dancing across the protective canopy of my tent lured me to sleep.
Tent:
If you do not have a tent then I will give some suggestions that may help.
1. How well does it hold out the elements?
2. Does it pack small?
3. Does it set up easily? (I prefer free standing over the bivy)
Food:
When it comes to food nothing beats the professionals making it for you. My favorite is waking up, packing, and getting on the road for a few miles before that relaxing and rewarding breakfast at the local diner. I love to eavesdrop on the local gossip from the booth next to me (do not judge me). After all I have been on the road for a wile and have a craving for human conversation. However much I enjoy that, it is not always available or affordable. So pack some food and pack light. As a rule I try to pack for 72 hours and try to keep that 72 hours packed as I go. I adopted this rule from a 72 hour bug out kit. I keep one in my car just as a safety preparation for many emergencies and sometimes spontaneous camping urges.
Some easy and affordable foods:
Breakfast: Flavored oatmeal packets. They are dehydrated and therefore keep for a long time. Also, you can buy them at almost any grocery store.
Lunch: I don't really eat lunch as I ride but I like to eat little snacks as I go. Pack um!
Dinner: My favorite dinner to pack in dehydrated chili. Again almost any grocery store has it and it packs light.
You may have already come up with some great ideas for your tour. I hope so and I hope this has been helpful. If you have any good suggestions then send a comment. May your tours be an adventure and the wind be ever in your favor.


.jpg)


.png)


.png)


.png)
.png)


.png)